Photography Tips for Bloggers: Capture Better Images That Elevate Your Brand
The complete guide to mastering blog photography—from camera basics to advanced techniques that will transform your visual content
In the visual-first world of blogging, stunning photography isn't just nice to have—it's essential. Your images are often the first impression potential readers have of your content. They determine whether someone clicks, stays, or bounces. They communicate your brand aesthetic, build trust, and differentiate you in a crowded content landscape.
This comprehensive tutorial delivers photography tips for bloggers at every skill level. Whether you're shooting with a smartphone or investing in professional gear, these techniques will help you capture images that stop the scroll, tell your story, and grow your blog.
Table of Contents
- Why Photography Matters for Bloggers
- Camera Equipment for Every Budget
- Understanding Camera Settings
- Mastering Natural Light
- Composition Techniques
- Styling & Props for Blog Photography
- Shooting Different Content Types
- Editing Workflow & Software
- SEO for Blog Images
- Building a Photography Workflow
- FAQ
Why Photography Matters for Bloggers
The Visual Web Reality
Statistics that matter:
- Content with relevant images gets 94% more views
- 65% of people are visual learners
- Articles with images every 75-100 words get double social shares
- 46% of marketers say photography is critical to their strategy
How Images Impact Blog Success
Engagement Metrics:
- Time on page increases with quality imagery
- Bounce rates decrease with visual interest
- Social shares multiply with shareable photos
- Pinterest traffic depends entirely on image quality
Your Visual Brand Identity
Consistent, high-quality photography:
- Establishes credibility and professionalism
- Creates recognizable brand aesthetics
- Communicates values and personality
- Builds emotional connection with readers
Camera Equipment for Every Budget
Smartphone Photography (Budget: $0-100)
Modern smartphones capture stunning images. Here's how to maximize them:
📱 Smartphone Upgrades: Moment Lens Attachments add wide and macro capabilities. DJI OM 6 Gimbal eliminates shake. Neewer 18" Ring Light creates studio-quality lighting anywhere.
Best Camera Phones for Bloggers:
- iPhone 15 Pro (best overall image quality)
- Samsung Galaxy S24 Ultra (versatile camera system)
- Google Pixel 8 Pro (computational photography leader)
Smartphone Photography Tips:
- Use grid lines for composition
- Tap to focus and expose
- Shoot in HDR mode for balanced exposures
- Clean your lens before every shoot
- Use portrait mode for depth effect
Entry-Level Cameras (Budget: $500-1,000)
Ready to upgrade from smartphone? These cameras offer significant quality jumps:
📷 Entry DSLR/Mirrorless: Canon EOS R50 offers 4K video and excellent autofocus under $600. Sony ZV-E10 is built for content creators with flip screen. Fujifilm X-S10 delivers film-like colors straight from camera.
Why Upgrade?
- Larger sensors = better low light performance
- Interchangeable lenses for versatility
- Manual control for creative expression
- RAW files for editing flexibility
- Professional depth of field control
Professional Cameras (Budget: $1,500+)
For bloggers making significant income from content:
📸 Professional Bodies: Sony A7 IV is the hybrid photo/video king. Canon EOS R6 Mark II offers incredible low-light performance. Nikon Z6 II delivers stunning image quality and build.
Professional Benefits:
- Full-frame sensor quality
- Advanced autofocus systems
- Weather sealing for any conditions
- Dual card slots for backup
- Professional video features
Essential Lenses for Blog Photography
🔍 Lens Recommendations:
The One-Lens Solution:
- Sigma 24-70mm f/2.8 Art - Covers most blogging needs
Prime Lenses (Sharper, Better in Low Light):
- Canon RF 50mm f/1.8 - $200, incredible value
- Sony 35mm f/1.8 OSS - Versatile blogging focal length
- Nikon Z 50mm f/1.8 S - Professional sharpness
Specialty Lenses:
- Tokina 11-20mm f/2.8 - Wide interiors and landscapes
- Canon RF 100mm f/2.8 Macro - Detail and product shots
- Sigma 85mm f/1.4 Art - Portrait and lifestyle beauty
Must-Have Accessories
🎒 Camera Accessories:
Support & Stability:
- Peak Design Travel Tripod - Compact, sturdy, beautiful
- JOBY GorillaPod - Flexible positioning anywhere
- DJI RS 3 Mini Gimbal - Smooth video stabilization
Memory & Power:
- SanDisk Extreme Pro SD Cards - 170MB/s write speed
- Sony NPFZ100 Batteries - Extended shooting time
- Anker PowerCore - On-location charging
Lighting:
- Godox SL-60W LED - Continuous lighting for any time
- Neewer 5-in-1 Reflectors - Natural light control
- Aputure MC RGB Light - Pocket-sized accent lighting
Understanding Camera Settings
The Exposure Triangle
Master these three elements for perfect exposure:
1. Aperture (f-stop)
- Controls depth of field (background blur)
- Lower f-numbers (f/1.8) = more blur, more light
- Higher f-numbers (f/16) = sharper throughout, less light
- Blog tip: f/2.8-f/4 for food and products, f/1.4-f/2 for portraits
2. Shutter Speed
- Controls motion and light
- Faster (1/1000s) = freeze motion, less light
- Slower (1/30s) = motion blur, more light
- Blog tip: 1/125s minimum for handheld, slower with tripod
3. ISO
- Controls sensor sensitivity
- Lower (100) = cleanest image, needs more light
- Higher (3200+) = grainy/noisy, works in darkness
- Blog tip: Keep ISO as low as possible; use light instead
Camera Modes Explained
Auto: Camera decides everything
Program (P): Camera sets exposure, you control other settings
Aperture Priority (A/Av): You set aperture, camera handles rest ⭐ Recommended for bloggers
Shutter Priority (S/Tv): You set shutter speed, camera handles rest
Manual (M): You control everything ⭐ For advanced users
Focus Techniques
Single Point AF: Precise control over focal point
Eye AF: Automatically focuses on eyes (portraits)
Zone AF: Camera chooses from selected area
Continuous AF: Tracks moving subjects
Blog Photography Focus Tips:
- Use single point for still subjects
- Focus on eyes in portraits
- Focus on front of food in flat lays
- Use focus peaking for manual focus accuracy
White Balance
Setting correct white balance ensures accurate colors:
Auto WB: Works for most situations
Daylight (5500K): Direct sunlight
Cloudy (6500K): Overcast conditions
Shade (7500K): Open shade
Tungsten (3200K): Indoor lighting
Custom: Set from gray card for accuracy
💡 Pro Tip: Shoot in RAW format to adjust white balance later without quality loss.
Mastering Natural Light
The Best Light for Blog Photography
Golden Hour (1 hour after sunrise, 1 hour before sunset):
- Warm, soft, directional light
- Long shadows add depth
- Skin looks radiant
- Best for: Portraits, lifestyle, outdoor products
Blue Hour (20 minutes after sunset):
- Cool, even, atmospheric light
- City lights begin to glow
- Best for: Cityscapes, moody portraits, travel
Open Shade:
- Soft, even, no harsh shadows
- Found under trees, porches, building overhangs
- Best for: Products, food, even portraits
Overcast Days:
- Massive natural softbox
- No harsh shadows
- Colors appear more saturated
- Best for: Macro, nature, any subject needing even light
Window Light Techniques
Side Lighting:
- Light from 45° angle
- Creates dimension and shadow
- Best for: Food, products, portraits with depth
Backlighting:
- Light behind subject
- Creates rim light and glow
- Best for: Drinks, translucent subjects, moody shots
Front Lighting:
- Light directly behind camera
- Even illumination, minimal shadows
- Best for: Flat lays, catalogs, detail shots
Managing Harsh Light
Diffusion Solutions:
- Sheer white curtains over windows
- 5-in-1 reflector diffusion panel
- Professional softboxes for artificial
Fill Light Techniques:
- White foam board opposite window
- Reflectors to bounce light back
- Expose for shadows, let highlights blow slightly
Negative Fill:
- Black foam board to absorb light
- Adds drama and contrast
- Best for: Moody food, dramatic portraits
Composition Techniques
The Rule of Thirds
Divide frame into 3x3 grid. Place subjects at intersection points.
Application:
- Eyes at top third line for portraits
- Horizon at bottom or top third
- Subject off-center for dynamic images
Leading Lines
Use natural lines to guide viewer's eye to subject.
Examples:
- Roads leading to mountains
- Table edges toward food
- Arms drawing attention to face
Framing
Use elements in foreground to frame subject.
Techniques:
- Shoot through doorways
- Use overhanging branches
- Frame with hands or objects
Symmetry & Patterns
Human eyes love symmetry and repeating patterns.
Applications:
- Architectural photography
- Table setting flat lays
- Nature patterns (leaves, water)
Negative Space
Intentional empty space emphasizes subject.
Best for:
- Text overlay placement
- Minimalist aesthetics
- Hero images and banners
The Fibonacci Spiral
Natural spiral composition found in nature.
Application:
- Arrange elements in spiral pattern
- Leads eye naturally through image
- Best for: Food styling, product arrangements
Depth & Layers
Create three-dimensional feel through layering.
Techniques:
- Foreground elements out of focus
- Middle ground subject sharp
- Background context visible but soft
Styling & Props for Blog Photography
Building a Prop Collection
Essential Surfaces:
🎨 Backdrop Options:
- Vinyl Backdrops - Seamless, wipeable
- Marble Contact Paper - Elegant, affordable
- Wood Photography Boards - Warm, rustic feel
- Tile Samples - Textured backgrounds
Styling Textiles:
- Linen napkins (neutrals and muted colors)
- Woven placemats for texture
- Vintage tea towels for character
- Cheesecloth for draping
Universal Props:
- Vintage silverware
- Cutting boards (various woods)
- Ceramic bowls and plates
- Glassware (different heights)
- Fresh herbs and produce
- Books and magazines
- Candles for ambiance
Color Theory for Styling
Complementary Colors (opposite on color wheel):
- Blue-orange, red-green, yellow-purple
- Creates vibrant, energetic images
Analogous Colors (adjacent on color wheel):
- Blue-bluegreen-green
- Creates harmonious, calming images
Monochromatic:
- Variations of single color
- Creates sophisticated, editorial look
Styling Techniques by Niche
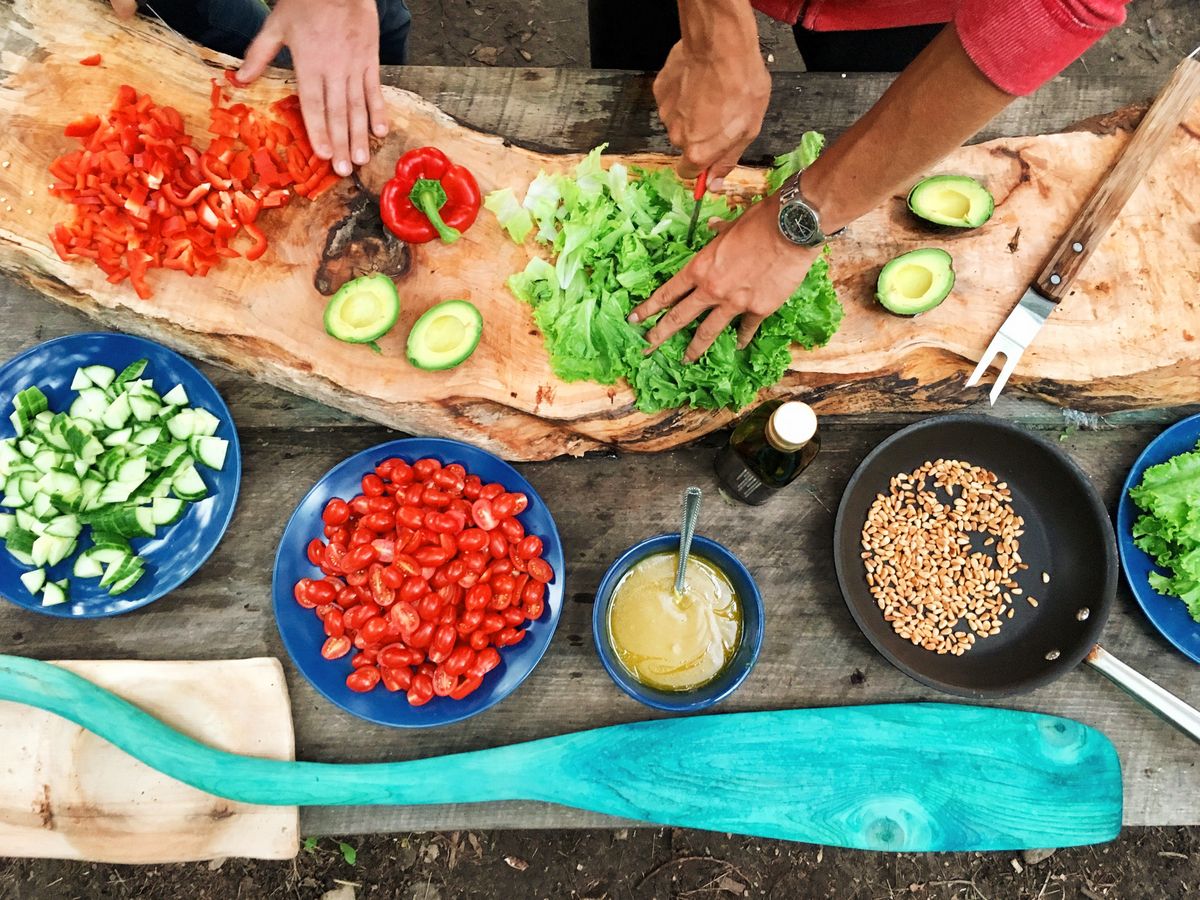
Food Photography:
- Use odd numbers of elements
- Leave "breathing room" around subject
- Add height with stands and boxes
- Incorporate ingredients used in recipe
- Show action (pouring, sprinkling)
Product Photography:
- Contextual lifestyle shots
- Clean white background for catalogs
- Show product in use
- Highlight key features
Fashion Photography:
- Flat lays with accessories
- Detail shots of fabric and hardware
- Lifestyle shots in environment
- Full outfit compositions
Travel Photography:
- Include local elements
- Show scale with human presence
- Capture golden hour magic
- Document authentic moments
Shooting Different Content Types
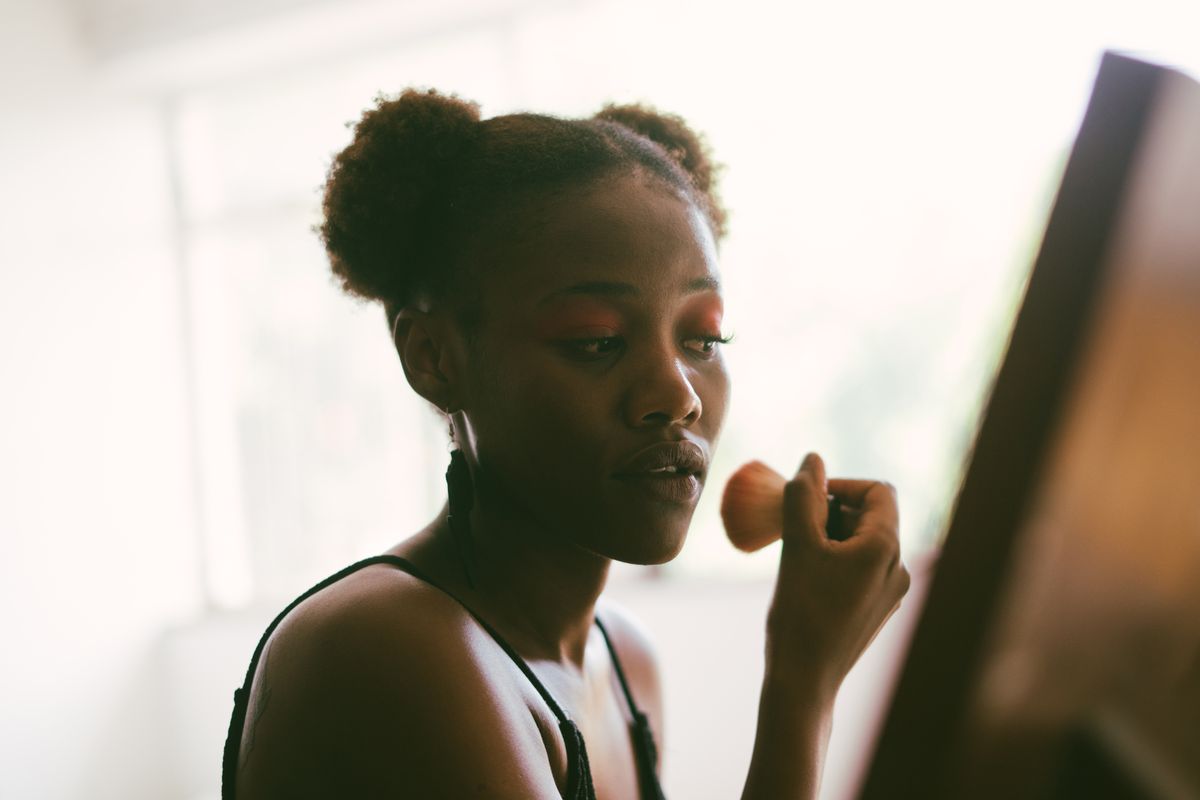
Portrait Photography for Bloggers
Lens Choice: 50mm or 85mm for flattering perspective
Aperture: f/1.8-f/2.8 for background separation
Lighting: Soft, directional window light or golden hour
Composition: Eyes on top third line, catchlights in eyes
Posing Tips:
- Angle body 45° to camera
- Create triangles with arms
- Chin slightly forward and down
- Genuine expressions over forced smiles
Food Photography
Camera Angle Guide:
| Angle | Best For | Lens |
|---|---|---|
| 90° Overhead | Flat lays, table settings | 35-50mm |
| 45° | Plated dishes, drinks | 50mm |
| 0° (Table Level) | Stacks, layers, burgers | 50-100mm |
| Close-up | Details, textures | Macro lens |
Styling Formula:
- Main subject (hero)
- Supporting elements (utensils, ingredients)
- Background texture (surface)
- Layering elements (linens, garnishes)
- Final touches (crumbs, drips, steam)
Interior/Home Photography
Wide Shots:
- Use 16-35mm lens
- Straighten vertical lines
- Show room context and flow
- Stage but keep realistic
Detail Shots:
- 35-50mm for natural perspective
- Capture textures and materials
- Show styling and curation
- Use shallow depth of field
Travel Photography
Research Before You Go:
- Scout locations via Instagram/Pinterest
- Check sunrise/sunset times
- Plan for weather contingencies
- Note cultural sensitivities
Capture Variety:
- Wide establishing shots
- Medium environmental portraits
- Detail textures and patterns
- Food and local culture
- Authentic moments (not just poses)
Editing Workflow & Software
Professional Editing Software
🖥️ Desktop Editing:
Adobe Lightroom ($9.99/month):
- Industry standard for photo editing
- Non-destructive RAW processing
- Batch editing for consistency
- Cloud sync across devices
- Start Free Trial
Adobe Photoshop ($20.99/month or in bundle):
- Advanced retouching and manipulation
- Layer-based editing
- Content-aware fill
- Professional compositing
Capture One ($24/month):
- Superior color processing
- Excellent for skin tones
- Tethered shooting
- One-time purchase option available
Mobile Editing Apps
Lightroom Mobile (Free with subscription):
- Syncs with desktop edits
- Professional controls on phone
- RAW editing capability
VSCO (Free/premium):
- Beautiful film-like presets
- Strong community
- Simple, elegant interface
Snapseed (Free):
- Google's powerful mobile editor
- Selective adjustments
- Healing and perspective tools
- Completely free
Editing Workflow
Step 1: Import & Organize
- Create date-based folders
- Add keywords and ratings
- Delete obvious failures immediately
Step 2: Global Adjustments
- White balance correction
- Exposure and contrast
- Highlights and shadows recovery
- Clarity and texture
Step 3: Selective Adjustments
- Gradient filters for skies
- Radial filters for subjects
- Brush adjustments for details
- Remove distractions
Step 4: Color Grading
- Saturation and vibrance
- HSL adjustments (Hue/Saturation/Luminance)
- Split toning for mood
- Calibration for color accuracy
Step 5: Finishing
- Sharpening (mask to edges only)
- Noise reduction if needed
- Vignette (subtle, if at all)
- Crop and straighten
Step 6: Export
- Web: 2000px wide, 80% quality JPEG
- Print: Full resolution TIFF
- Social: Platform-optimized sizes
Creating Consistent Presets
Develop 3-5 signature looks for your brand:
Preset Examples:
- "Bright & Airy" - High key, soft shadows, warm
- "Moody & Rich" - Low key, contrasty, cool
- "Film Inspired" - Grain, faded blacks, color shifts
- "True to Life" - Natural, balanced, accurate
💡 Pro Tip: Create presets in Lightroom, then fine-tune each image individually. Presets are starting points, not finished edits.
SEO for Blog Images
File Naming Best Practices
Bad: IMG_1234.jpg
Good: avocado-toast-recipe-breakfast.jpg
Formula: descriptive-keywords-topic.jpg
Alt Text Optimization
Alt text serves multiple purposes:
- Accessibility for visually impaired users
- SEO ranking factor
- Displayed when images fail to load
Best Practices:
- Describe the image accurately
- Include target keywords naturally
- Keep under 125 characters
- Be specific but concise
Examples:
- ❌ "chocolate cake"
- ✅ "Triple layer chocolate ganache cake on marble stand"
Image Compression
Fast-loading images improve SEO and user experience.
⚡ Compression Tools:
- TinyPNG - Free web-based compression
- ImageOptim - Mac desktop app
- Squoosh - Google's web tool
- ShortPixel - WordPress plugin
Target Sizes:
- Hero images: Under 200KB
- Content images: Under 100KB
- Thumbnails: Under 50KB
Structured Data for Images
Implement schema markup for rich results:
{
  "@context": "https://schema.org/",
  "@type": "ImageObject",
  "contentUrl": "https://example.com/photo.jpg",
  "description": "Avocado toast with poached egg",
  "name": "Avocado Toast Recipe"
}
Responsive Images
Serve appropriately sized images for different devices:
<img srcset="small.jpg 480w, medium.jpg 800w, large.jpg 1200w"
     sizes="(max-width: 600px) 480px, (max-width: 1000px) 800px, 1200px"
     src="fallback.jpg"
     alt="Descriptive alt text">
Building a Photography Workflow
Pre-Shoot Planning
Shot List Creation:
- Hero/featured image
- Detail shots (3-5)
- Process/action shots
- Context/environmental shots
- Alternative angles
Equipment Checklist:
- Camera + charged batteries
- Memory cards (formatted)
- Lenses needed
- Tripod if required
- Lighting equipment
- Props and styling items
- Reflector/diffuser
Shooting Day Workflow
Setup Phase (30-60 min):
- Arrange lighting
- Style scene
- Test shots for exposure
- Adjust composition
Capture Phase:
- Shoot hero image first (best light)
- Capture variations (angles, props)
- Detail and macro shots
- Behind-the-scenes content
Review Phase:
- Check focus on camera LCD
- Verify exposure with histogram
- Ensure variety in shots
- Capture any missing angles
Post-Processing Workflow
Daily Batch:
- Import and backup
- Cull (keep 10-20% of shots)
- Rate best images
- Edit selects
- Export web versions
- Upload to blog/social
Weekly Organization:
- Archive RAW files
- Organize finals by project
- Update portfolio
- Analyze what worked
FAQ
Q: Do I need an expensive camera to take good blog photos?
A: Absolutely not! Great photography depends far more on understanding light, composition, and storytelling than on equipment. Many successful bloggers shoot entirely on smartphones. The iPhone 15 Pro and Google Pixel 8 Pro capture stunning images. Invest in understanding photography fundamentals before buying gear. When you do upgrade, you'll appreciate the difference more.
Q: What camera settings should I use for blog photography?
A: Start with Aperture Priority mode (A/Av). Set aperture based on your subject: f/1.8-f/2.8 for portraits and shallow depth of field, f/4-f/8 for food and products where you want more in focus. Keep ISO as low as possible (100-400) and let the camera choose shutter speed. Use single point autofocus placed on your subject's eye or most important detail.
Q: How do I get blurry backgrounds in my photos?
A: Background blur (bokeh) depends on three factors: (1) Wide aperture (lower f-number like f/1.8 or f/2.8), (2) Longer focal length (50mm or 85mm creates more blur than 24mm), and (3) Distance between subject and background (more distance = more blur). Smartphones use portrait mode to simulate this effect.
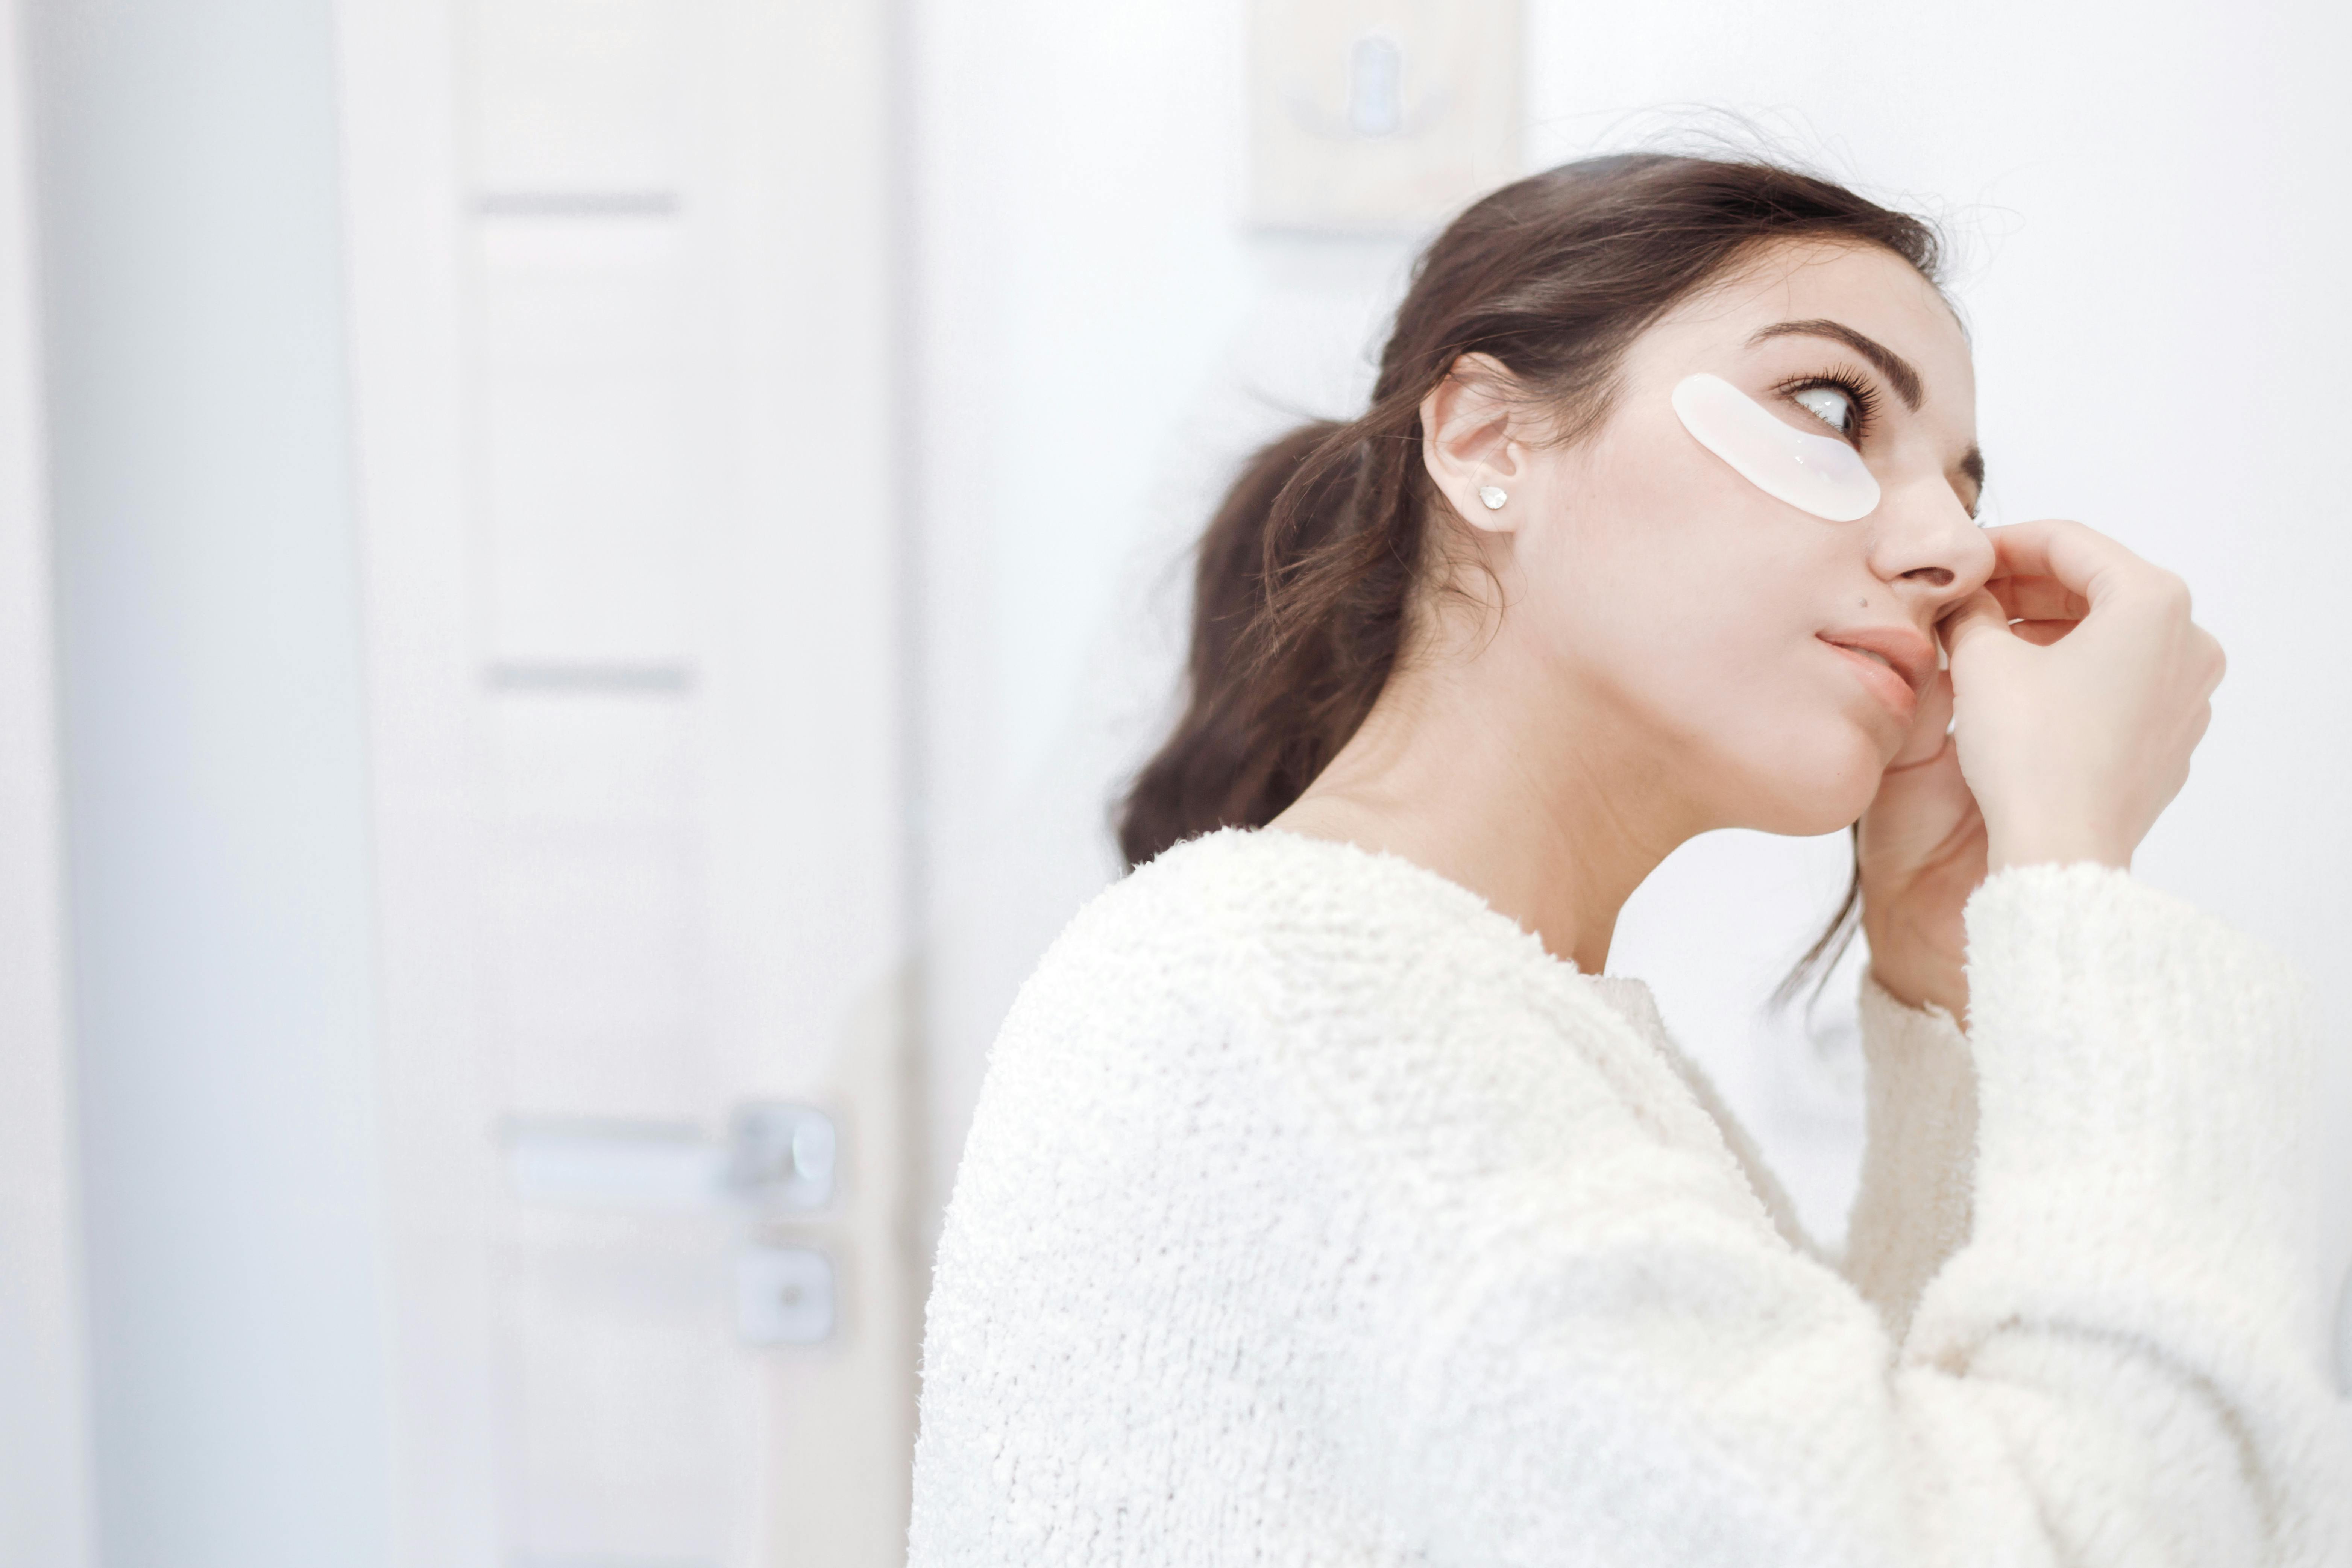
Q: What's the best lighting for blog photography?
A: Natural window light is the best free lighting available. Shoot near large windows during the day, avoiding direct harsh sunlight. Overcast days provide beautiful even lighting. Golden hour (1 hour before sunset) creates warm, flattering light for portraits and outdoor content. For indoor control, invest in a 5-in-1 reflector to manipulate natural light.
Q: How do I edit photos consistently for my brand?
A: Create Lightroom presets with your signature look. Develop 3-5 presets that match your brand aesthetic—perhaps a bright and airy style, a moody rich look, and a true-to-life option. Apply the preset as a starting point, then fine-tune each image individually. Consistent editing creates recognizable brand imagery across your blog and social media.
Q: What size should blog images be?
A: For web display, resize images to 2000px on the longest side at 72 DPI, saved as JPEG at 80% quality. This provides crisp display on retina screens while keeping file sizes manageable. For hero images, aim for under 200KB. For content images, under 100KB. Always compress images using tools like TinyPNG before uploading.
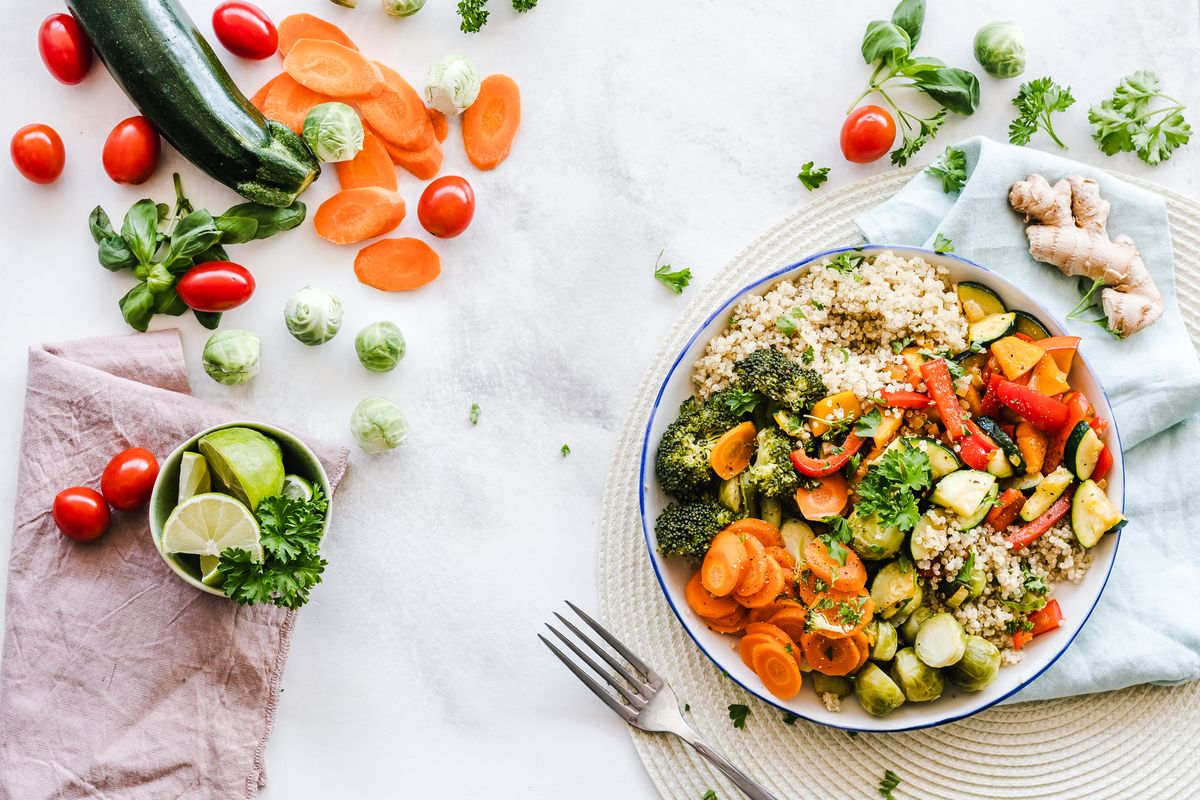
Q: How do I take better flat lay photos?
A: Shoot from directly overhead (90° angle) using a tripod or overhead mount. Use even, diffused lighting from windows or softboxes. Create visual interest with layers and textures—linens, cutting boards, ingredients. Use the rule of thirds and leave negative space. Style with odd numbers of items and vary heights using boxes or stands under surfaces.
Q: What's the best lens for blog photography?
A: A 50mm f/1.8 prime lens is the best value in photography—sharp, fast, and affordable (around $200). It approximates human eye perspective, creates beautiful background blur, and works for portraits, food, and lifestyle. If you can only have one lens, this is it. For more versatility, consider a 24-70mm f/2.8 zoom.
Q: How do I improve my food photography?
A: (1) Shoot in natural light near windows, (2) Style with fresh ingredients and textures, (3) Shoot at 45° or overhead angles, (4) Use a tripod for sharp images, (5) Add steam or action for life, (6) Edit to enhance appetite appeal, (7) Study food magazines for inspiration, and (8) Practice consistently with every meal.
Q: Should I shoot in RAW or JPEG?
A: Shoot RAW for important content you plan to edit. RAW files contain significantly more data, allowing you to recover shadows/highlights, adjust white balance, and edit more aggressively without quality loss. Shoot JPEG for casual content, quick social posts, or when storage is limited. Many cameras offer RAW+JPEG mode for flexibility.
Exit-Intent Popup Configuration
{
  "trigger": "exit-intent",
  "delay_seconds": 0,
  "headline": "📸 Want to Master Blog Photography?",
  "subheadline": "Get our free Photography Starter Kit with camera settings cheat sheet, composition guide, and editing presets",
  "cta_text": "Send Me The Kit!",
  "form_fields": ["email"],
  "offer_type": "lead_magnet",
  "lead_magnet": "blog-photography-starter-kit.zip",
  "discount_code": null,
  "success_message": "Check your email! Your Photography Starter Kit is on its way.",
  "design": {
    "background_color": "#2C3E50",
    "text_color": "#FFFFFF",
    "image_url": "/images/photography-starter-kit.png"
  }
}
Conclusion: Your Photography Journey Starts Now
Exceptional photography separates thriving blogs from forgotten ones. By mastering light, composition, and editing, you'll create images that capture attention, communicate your brand, and grow your audience.
Your 30-Day Photography Challenge:
- Week 1: Shoot daily using natural window light only
- Week 2: Practice one composition technique per day
- Week 3: Edit 5 images using consistent style
- Week 4: Create your first Lightroom preset
Remember: Every professional photographer started as a beginner. The difference is practice, persistence, and passion. Your camera is a tool—your vision is what creates art.
Pick up your camera and start shooting. Your best image is the one you haven't taken yet.
Last Updated: January 2024 | Affiliate Disclosure: This post contains affiliate links. We earn a commission from qualifying purchases at no additional cost to you.